Step 1: Install
Download and install
- Quick Install — macOS / Linux
- npm — All Platforms
macOS Apple Silicon (M1/M2/M3+), macOS Intel, Linux x86_64, and Linux ARM64 only. On Windows — use the npm tab.
brv to your PATH automatically. If brv isn’t found after reopening your shell, run:Step 2: Start ByteRover
- TUI
- CLI
Select a provider
On first launch, ByteRover immediately shows the provider selector. Choose any of the 18 supported external providers — just provide an API key (or use OAuth for OpenAI), no ByteRover account needed. ByteRover’s built-in LLM is also available with limited free usage, but requires a logged-in ByteRover account.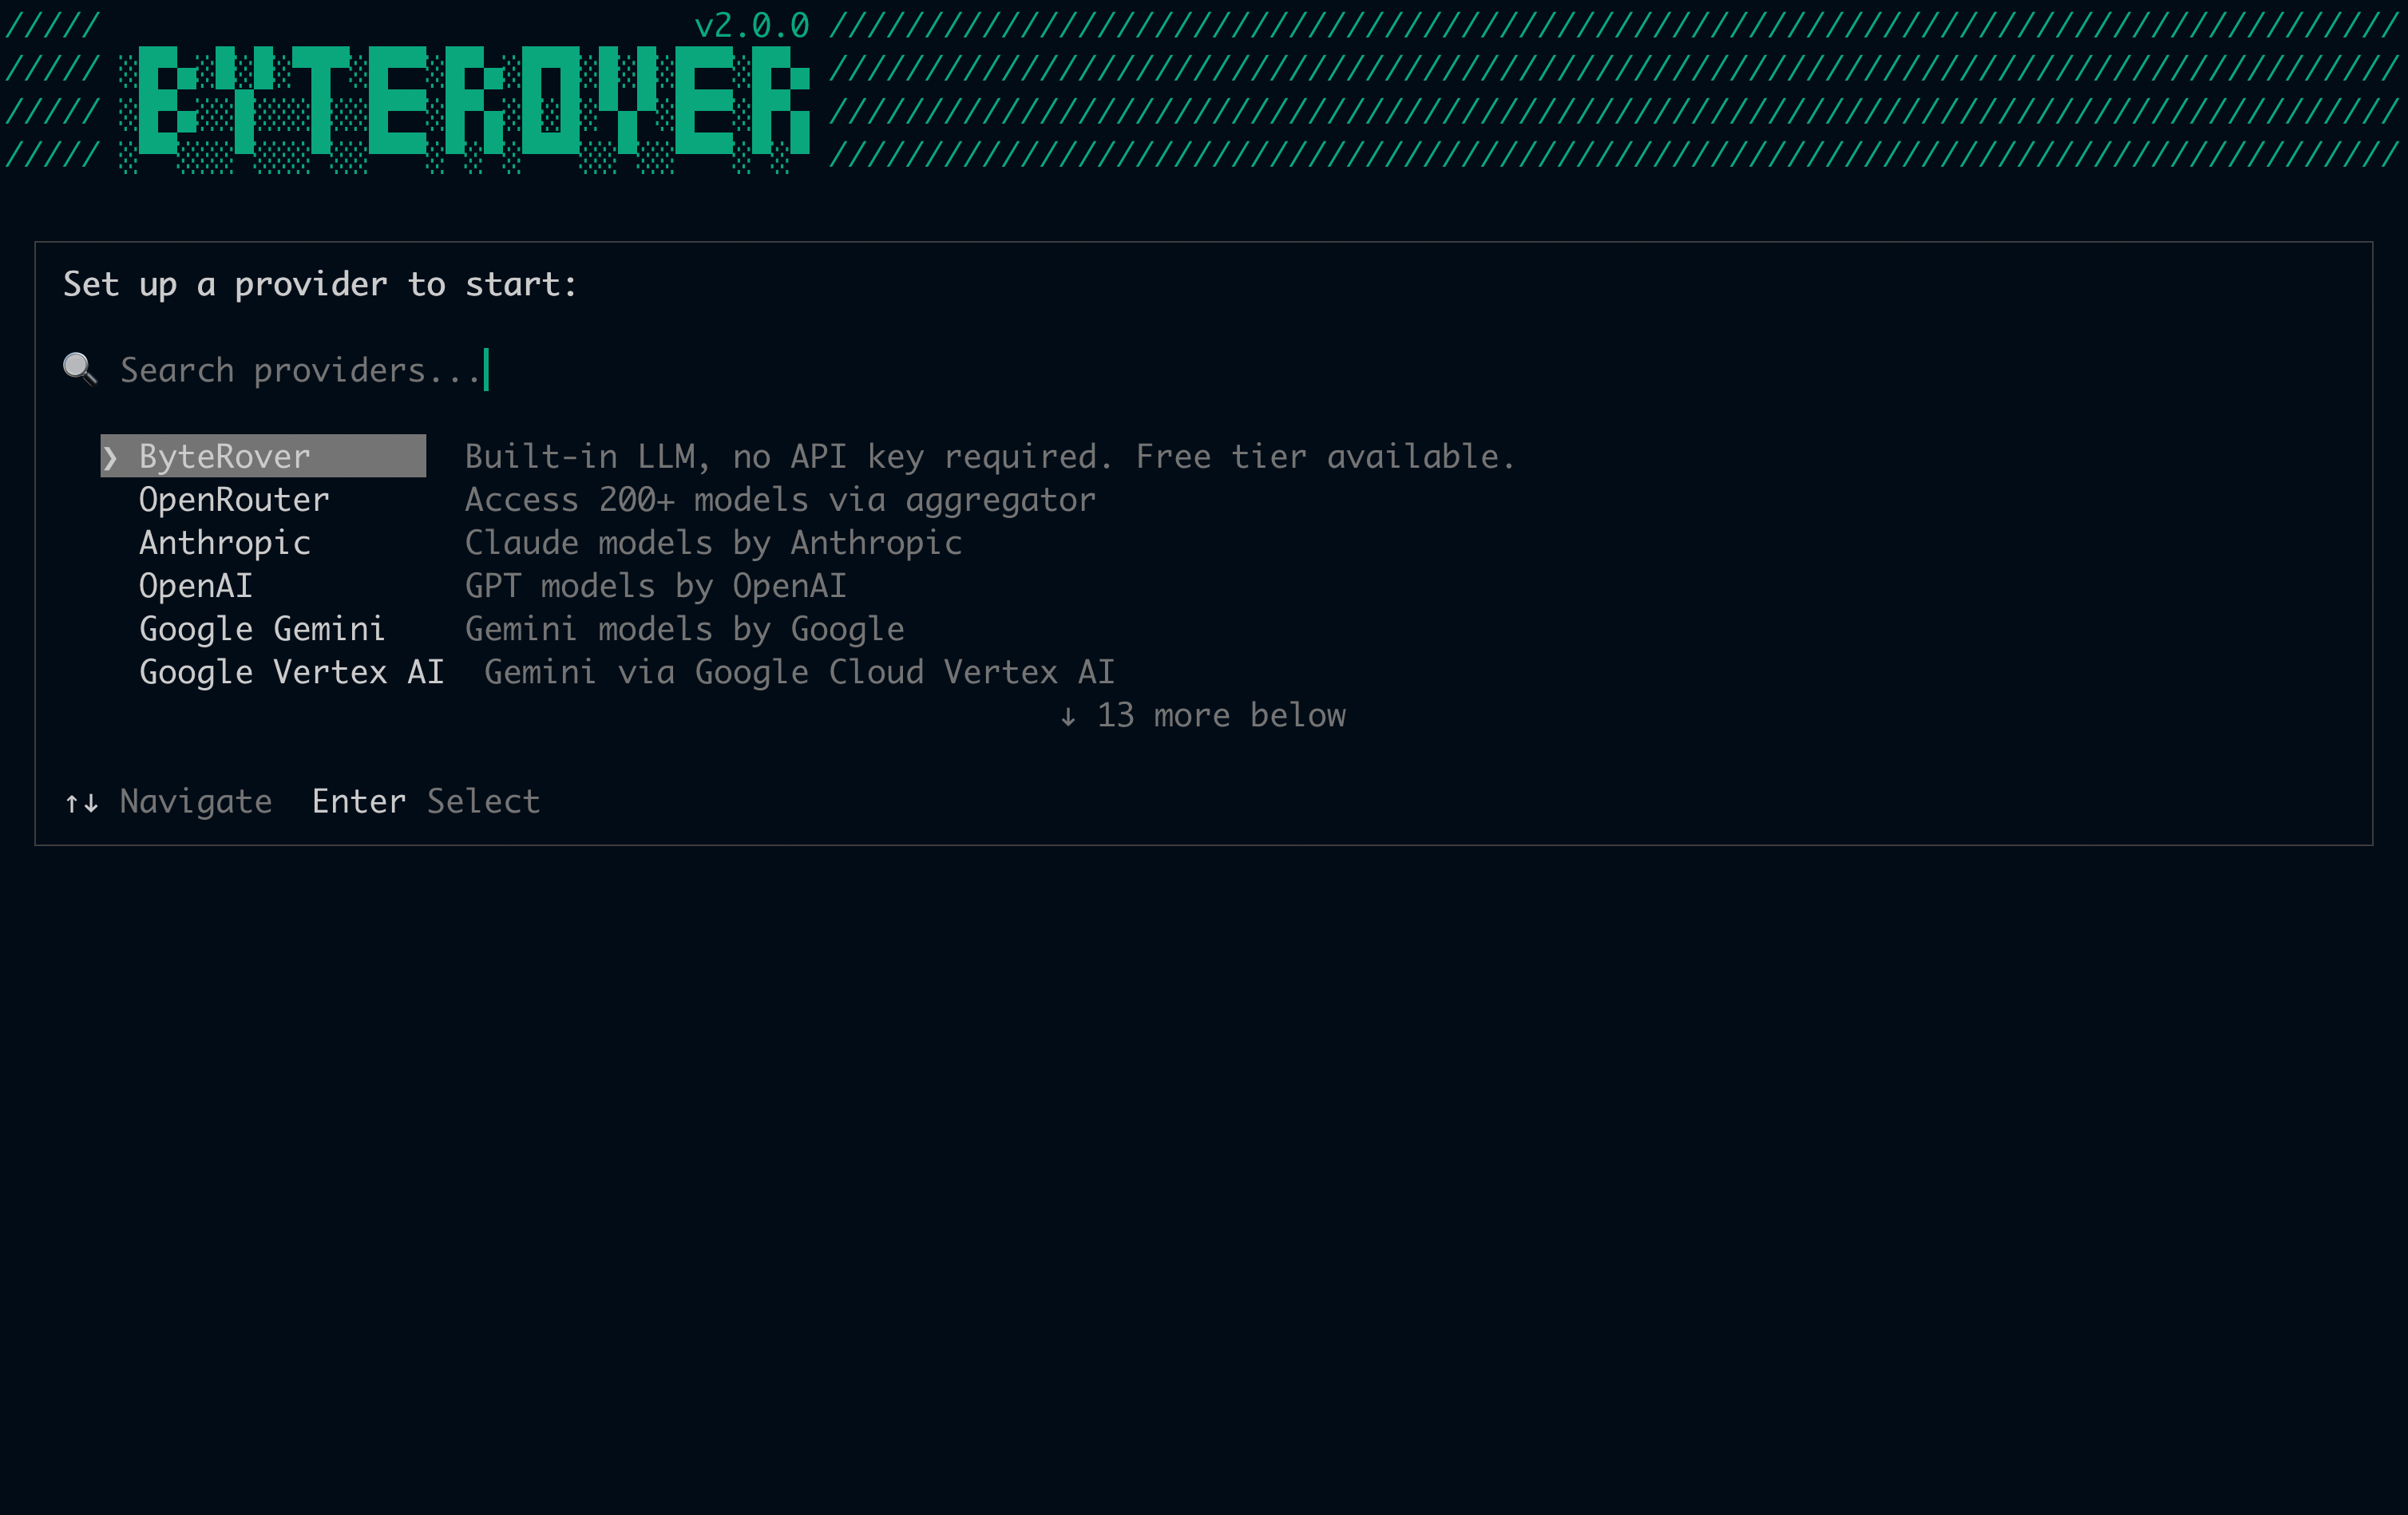
Selecting the ByteRover built-in provider when not logged in will prompt you to sign in via your browser. Third-party providers do not require a ByteRover account — only an API key. In
brv webui, ByteRover is pinned at the top of the picker with a Native badge and the sign-in popup opens directly — no extra confirmation step.Select a model
After selecting an external provider, ByteRover immediately prompts you to pick a model: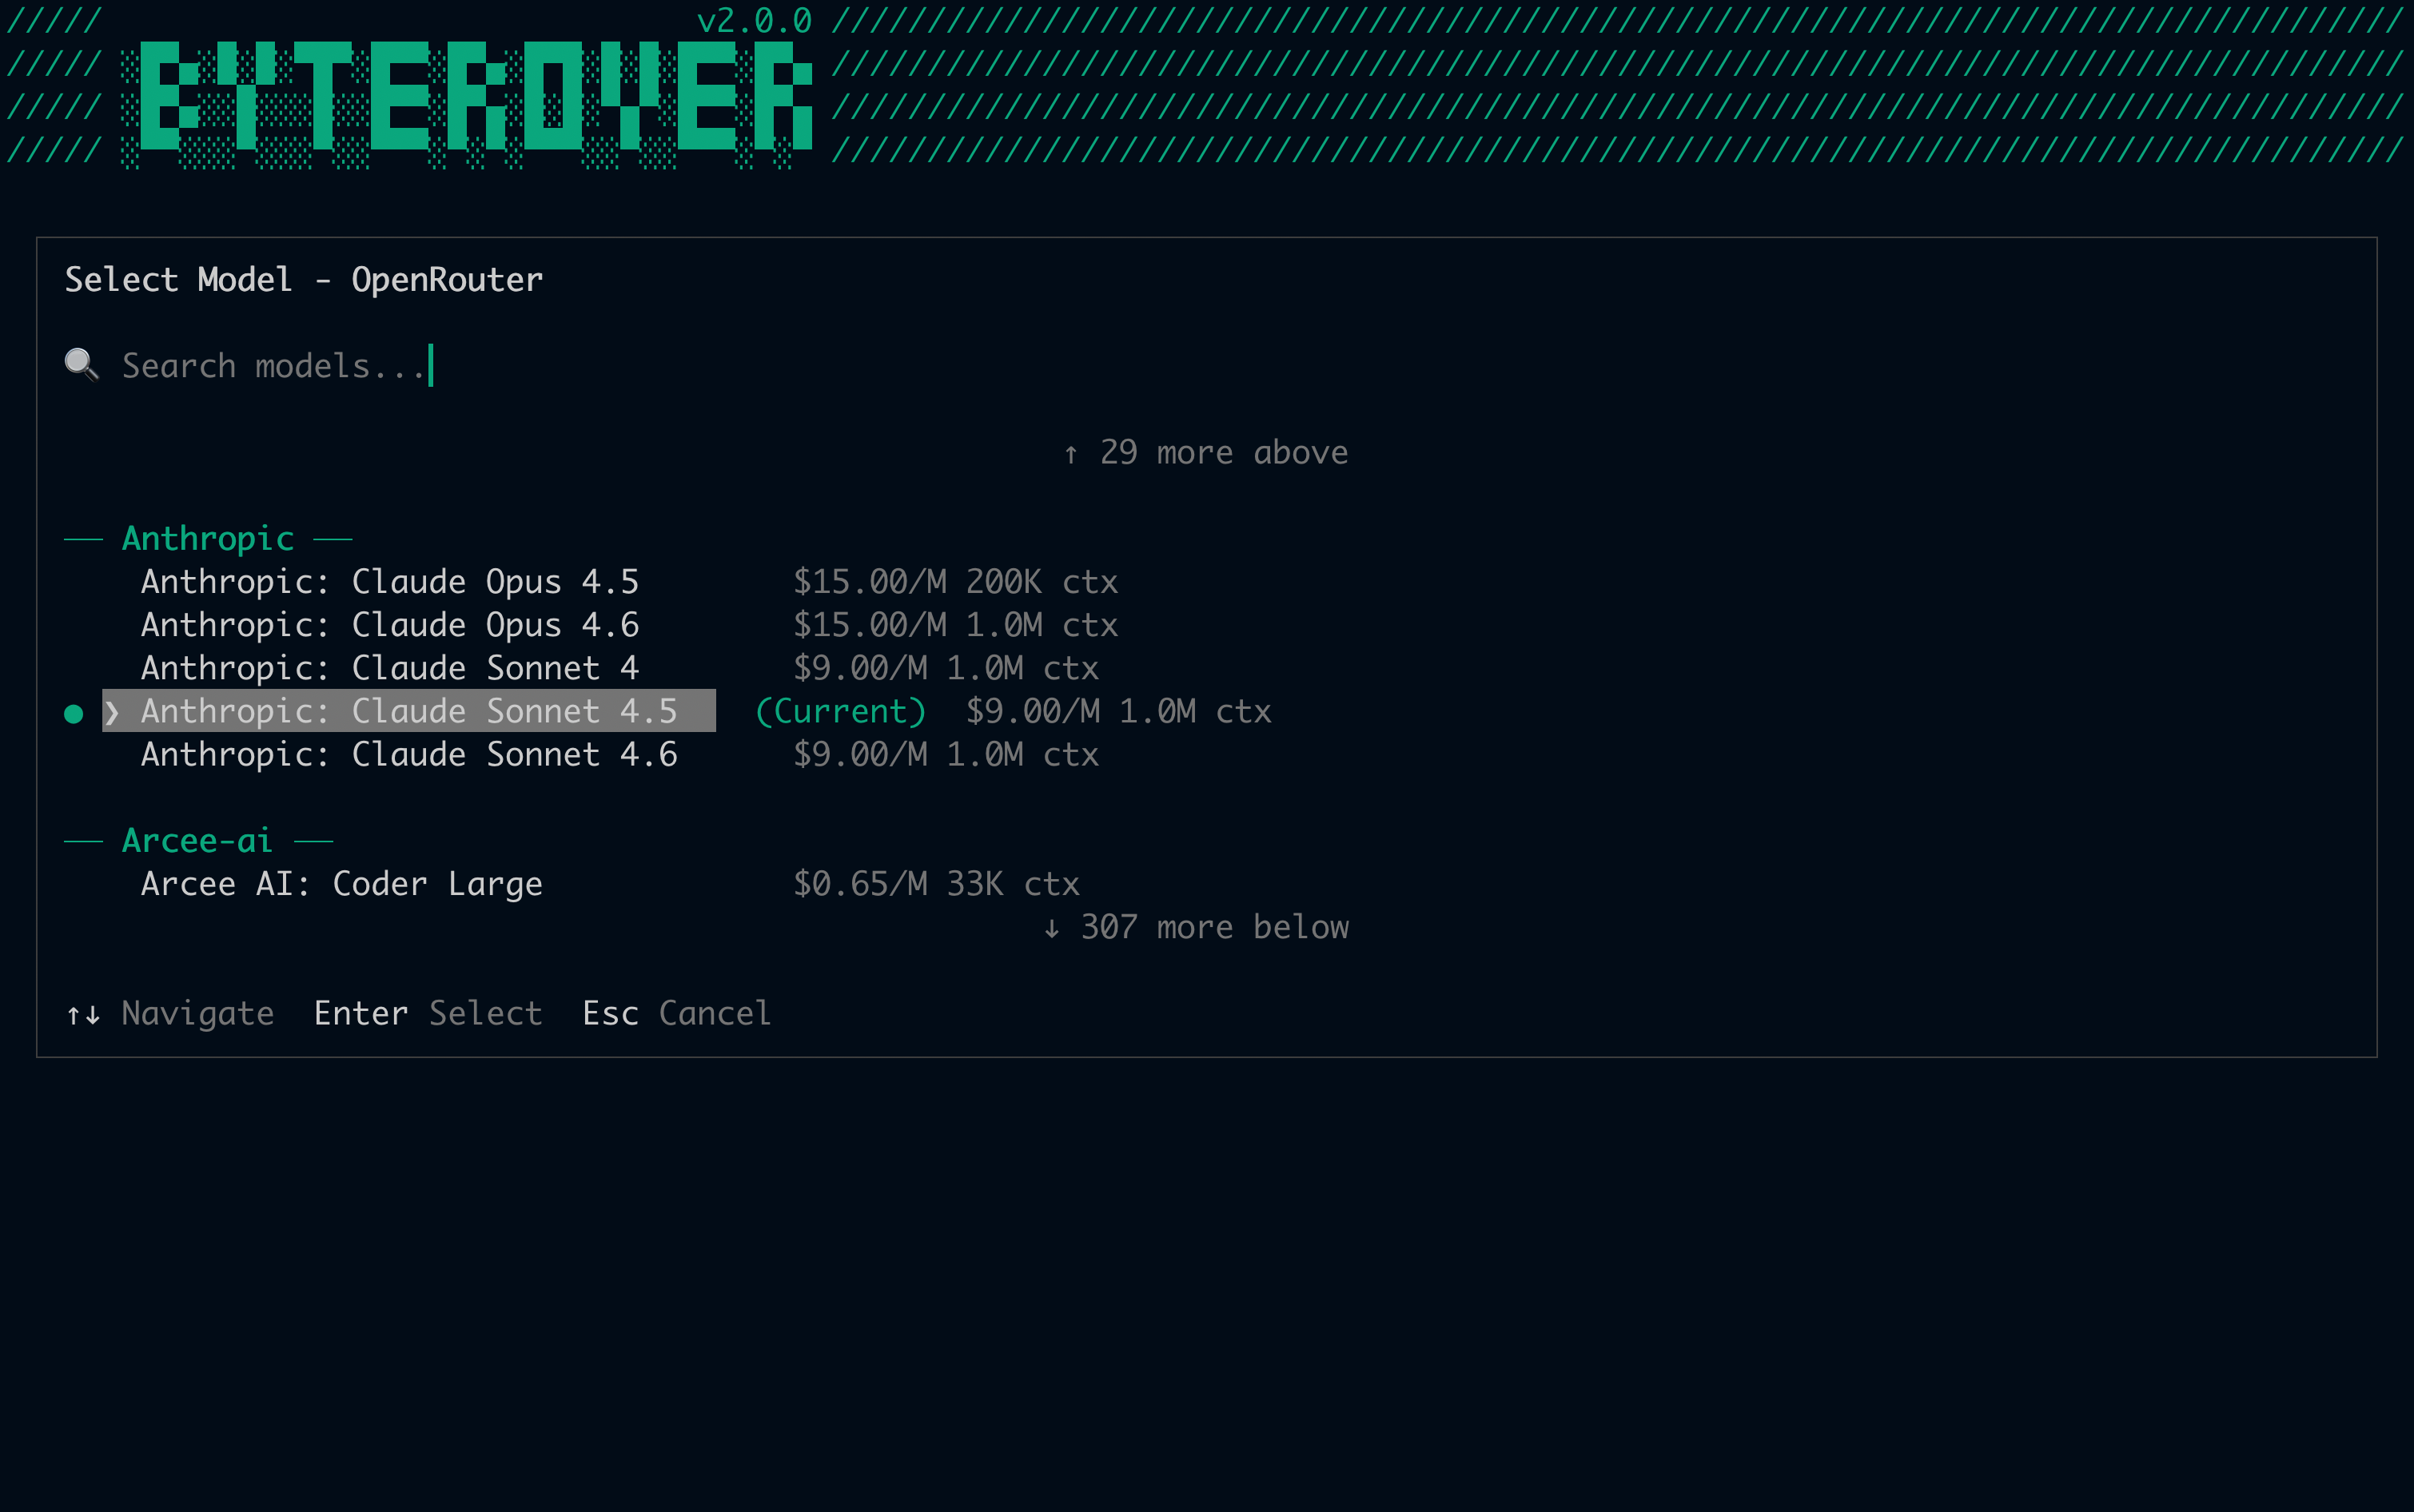
Step 3: Connect your coding agent
Set up the connector so your coding agent (Cursor, Claude Code, Claude Desktop, Windsurf, etc.) can use ByteRover’s context.- TUI
- CLI
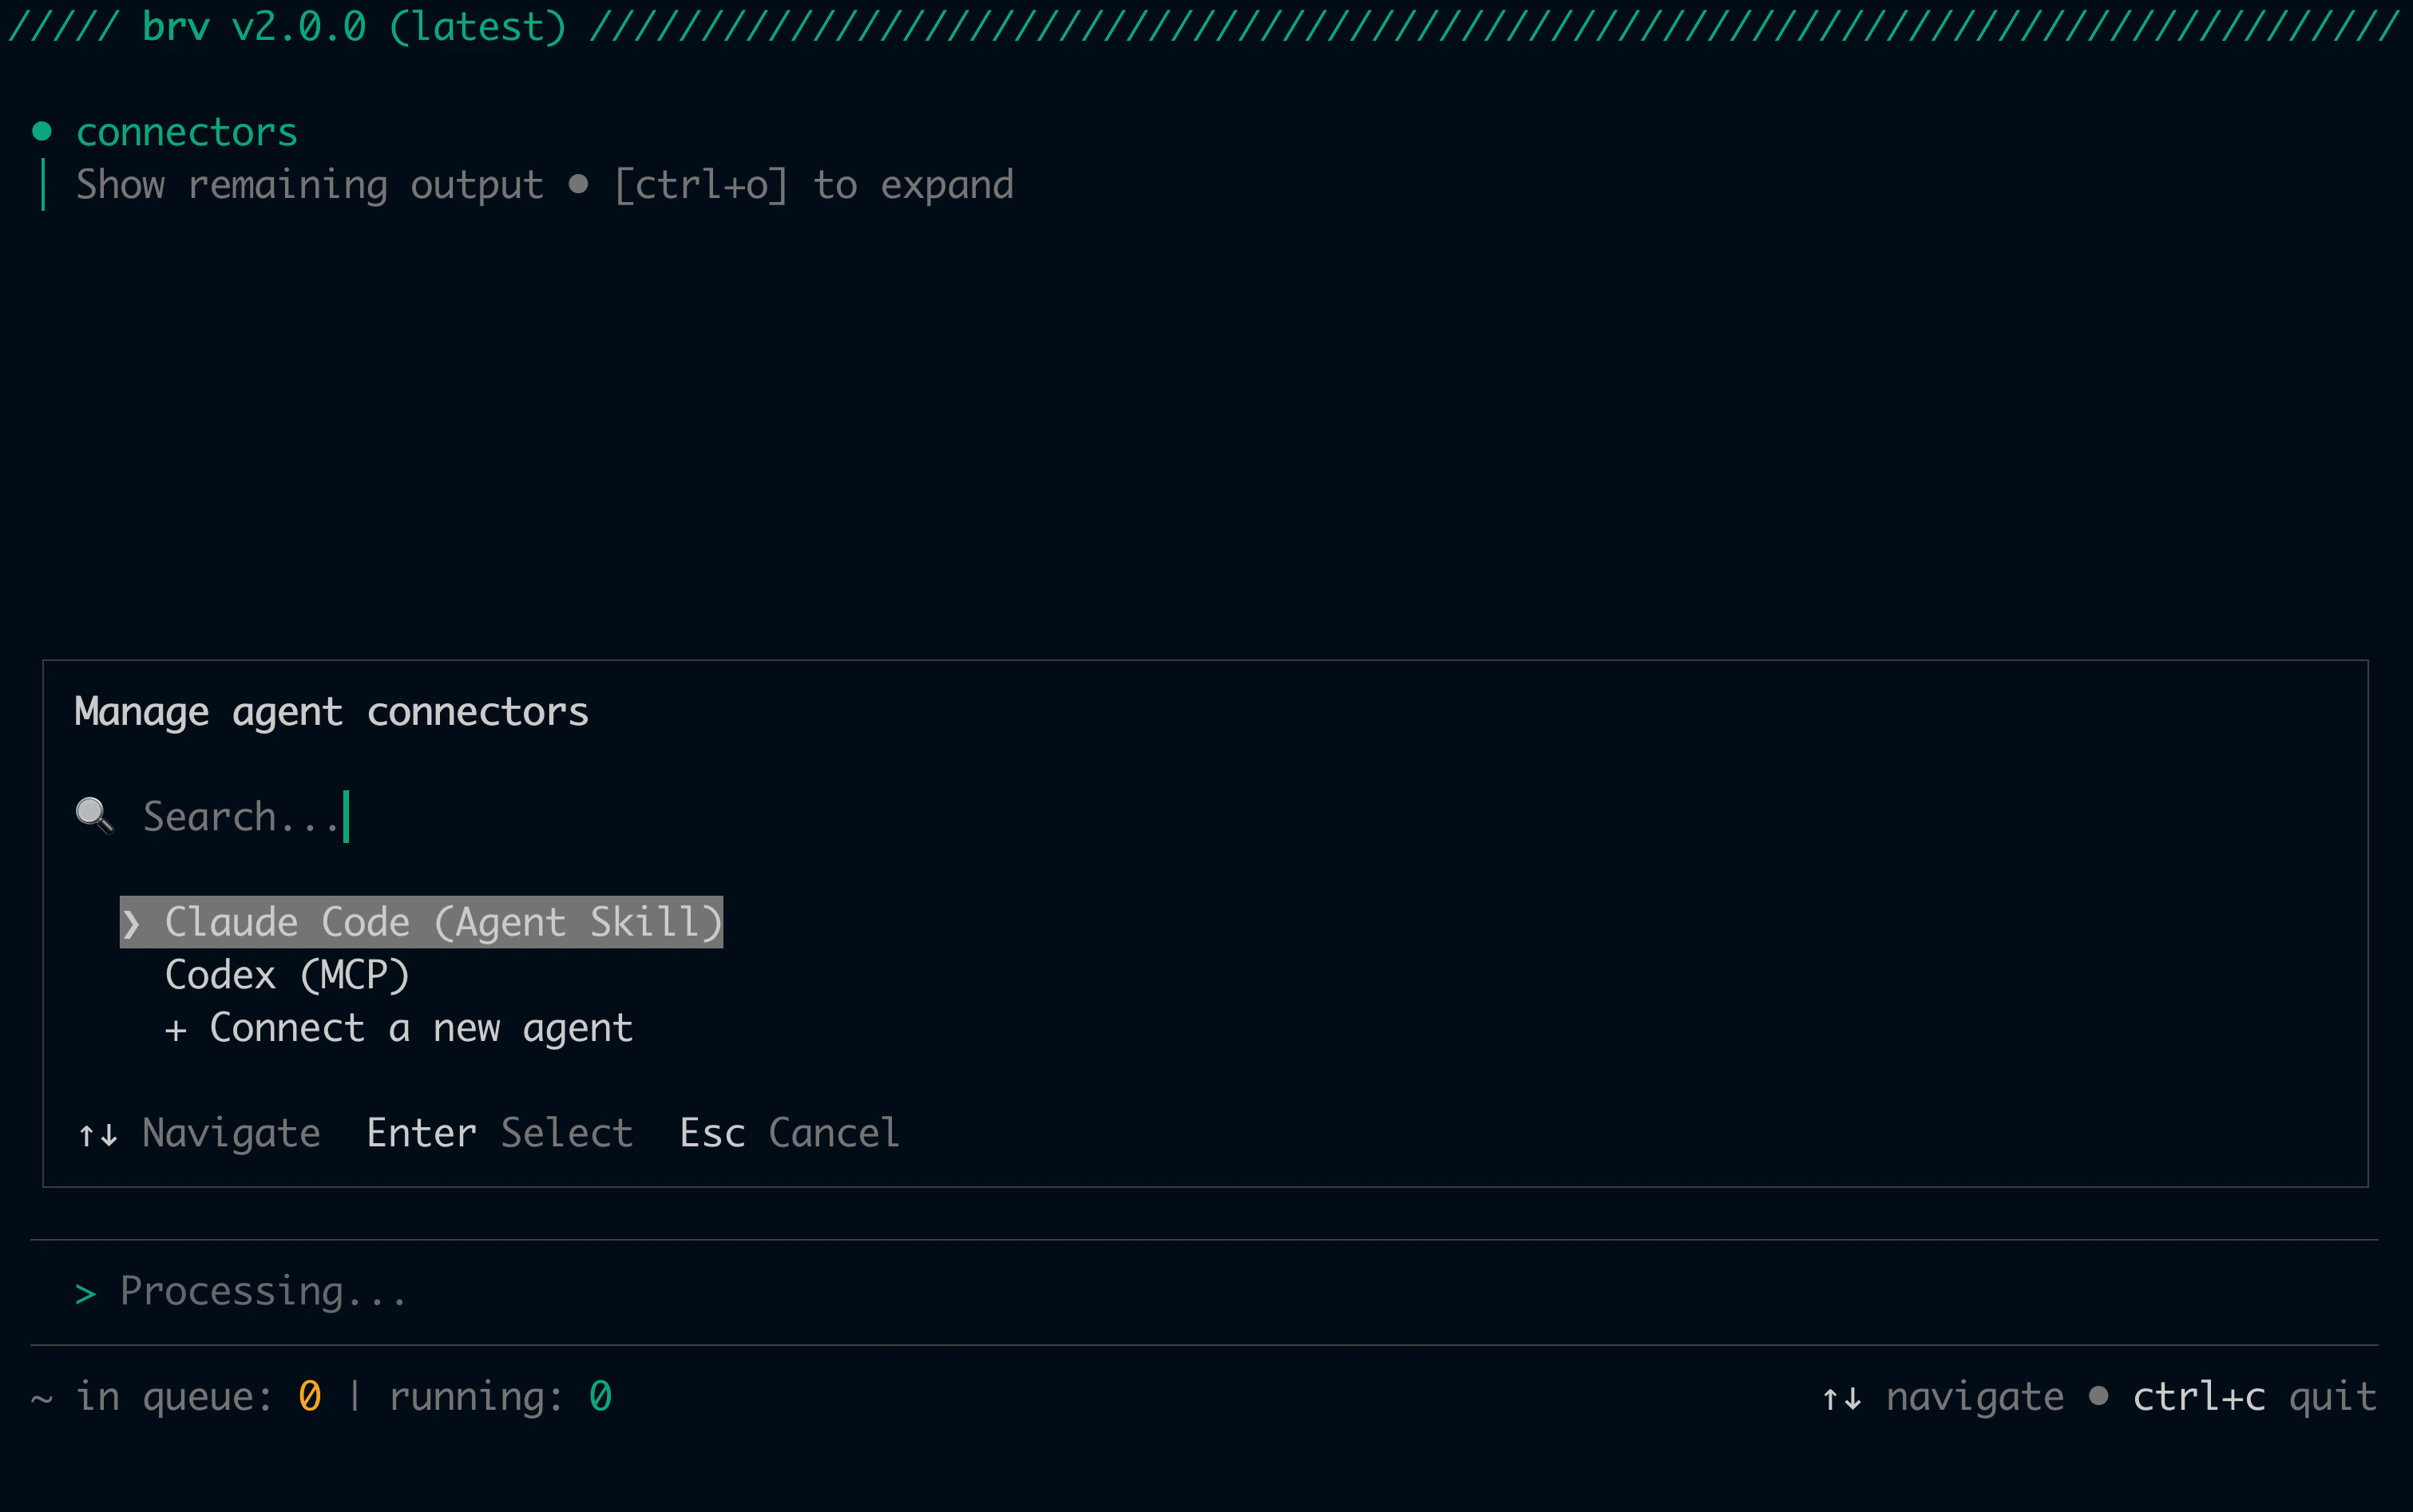
- Skill (default for most agents) — Claude Code, Cursor, Windsurf, Codex, Gemini CLI, GitHub Copilot, Kilo Code, Roo Code, Amp, Kiro, Junie, Antigravity, Qoder, Trae.ai, Auggie CLI, OpenClaude, OpenClaw, OpenCode, Warp
- MCP (default for 5 agents) — Augment Code, Claude Desktop, Cline, Qwen Code, Zed
- Hook — Claude Code only (hooks into Claude Code’s prompt-submit lifecycle)
- Rules — Any agent that supports rules files
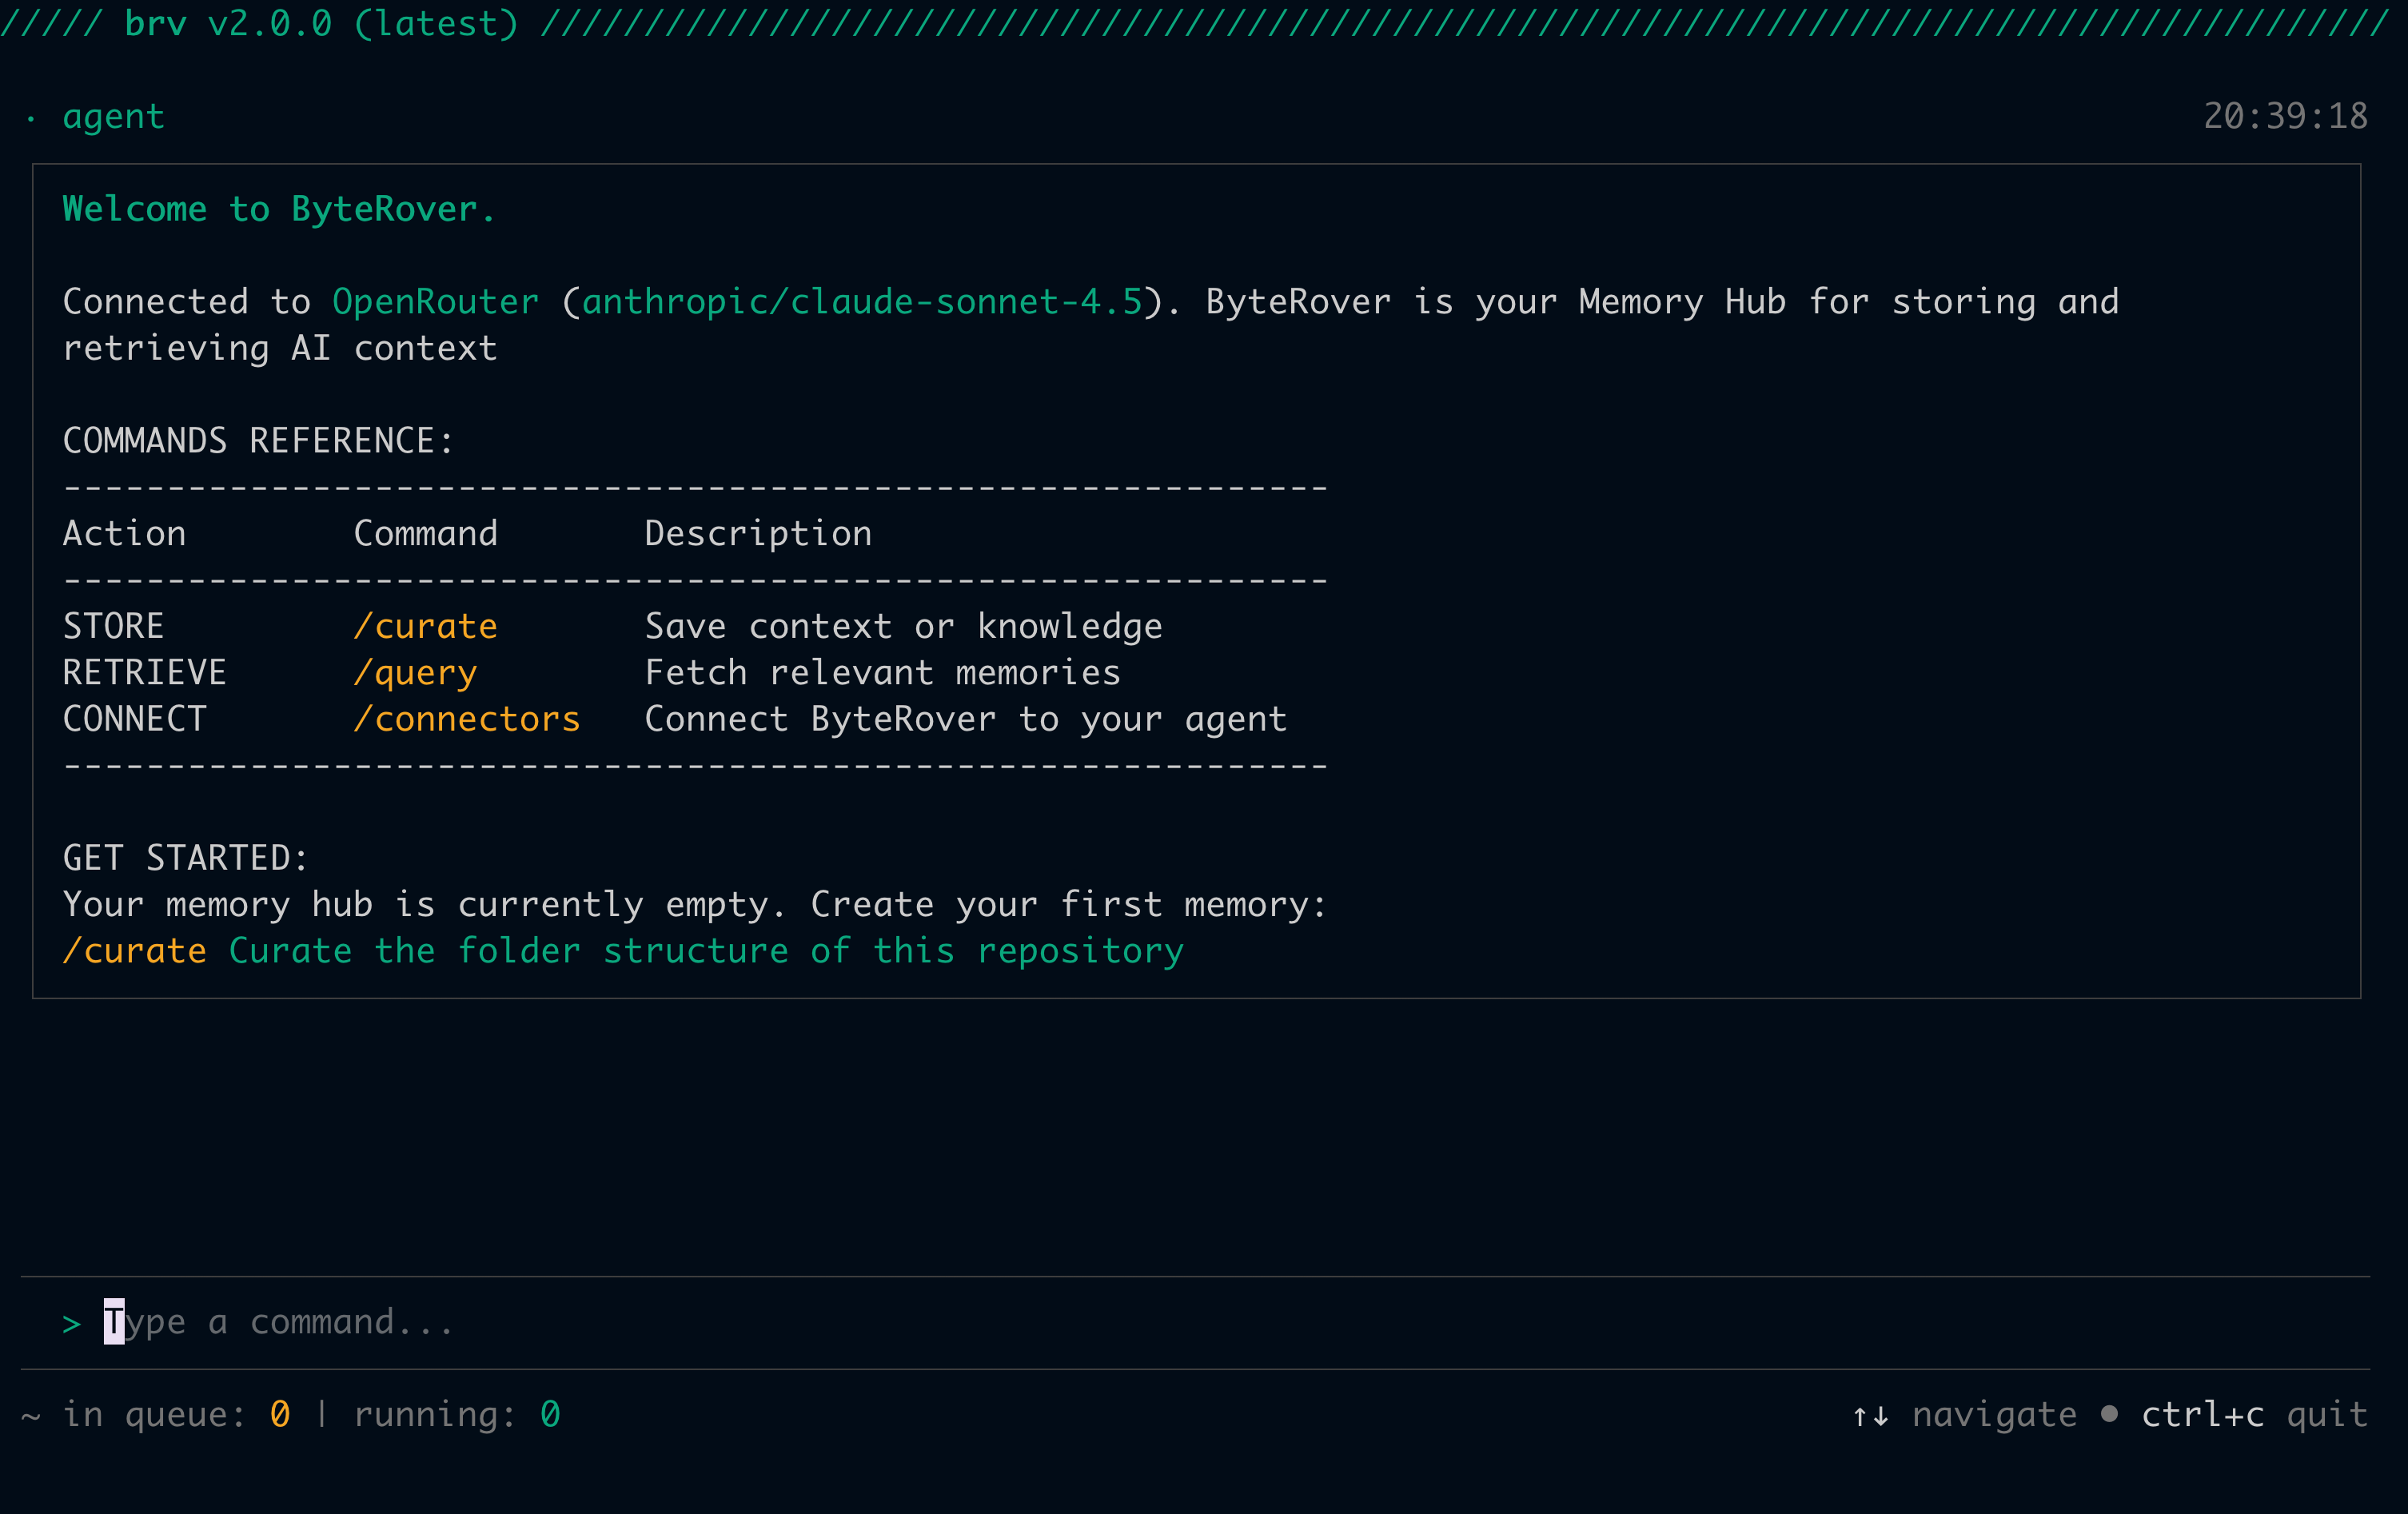
Step 4: Add your first context
Via your coding agent
Prompt your coding agent
Ask your coding agent (Cursor, Claude Code, Windsurf, etc.) to curate context for you:Your coding agent will analyze the codebase and call
brv curate automatically.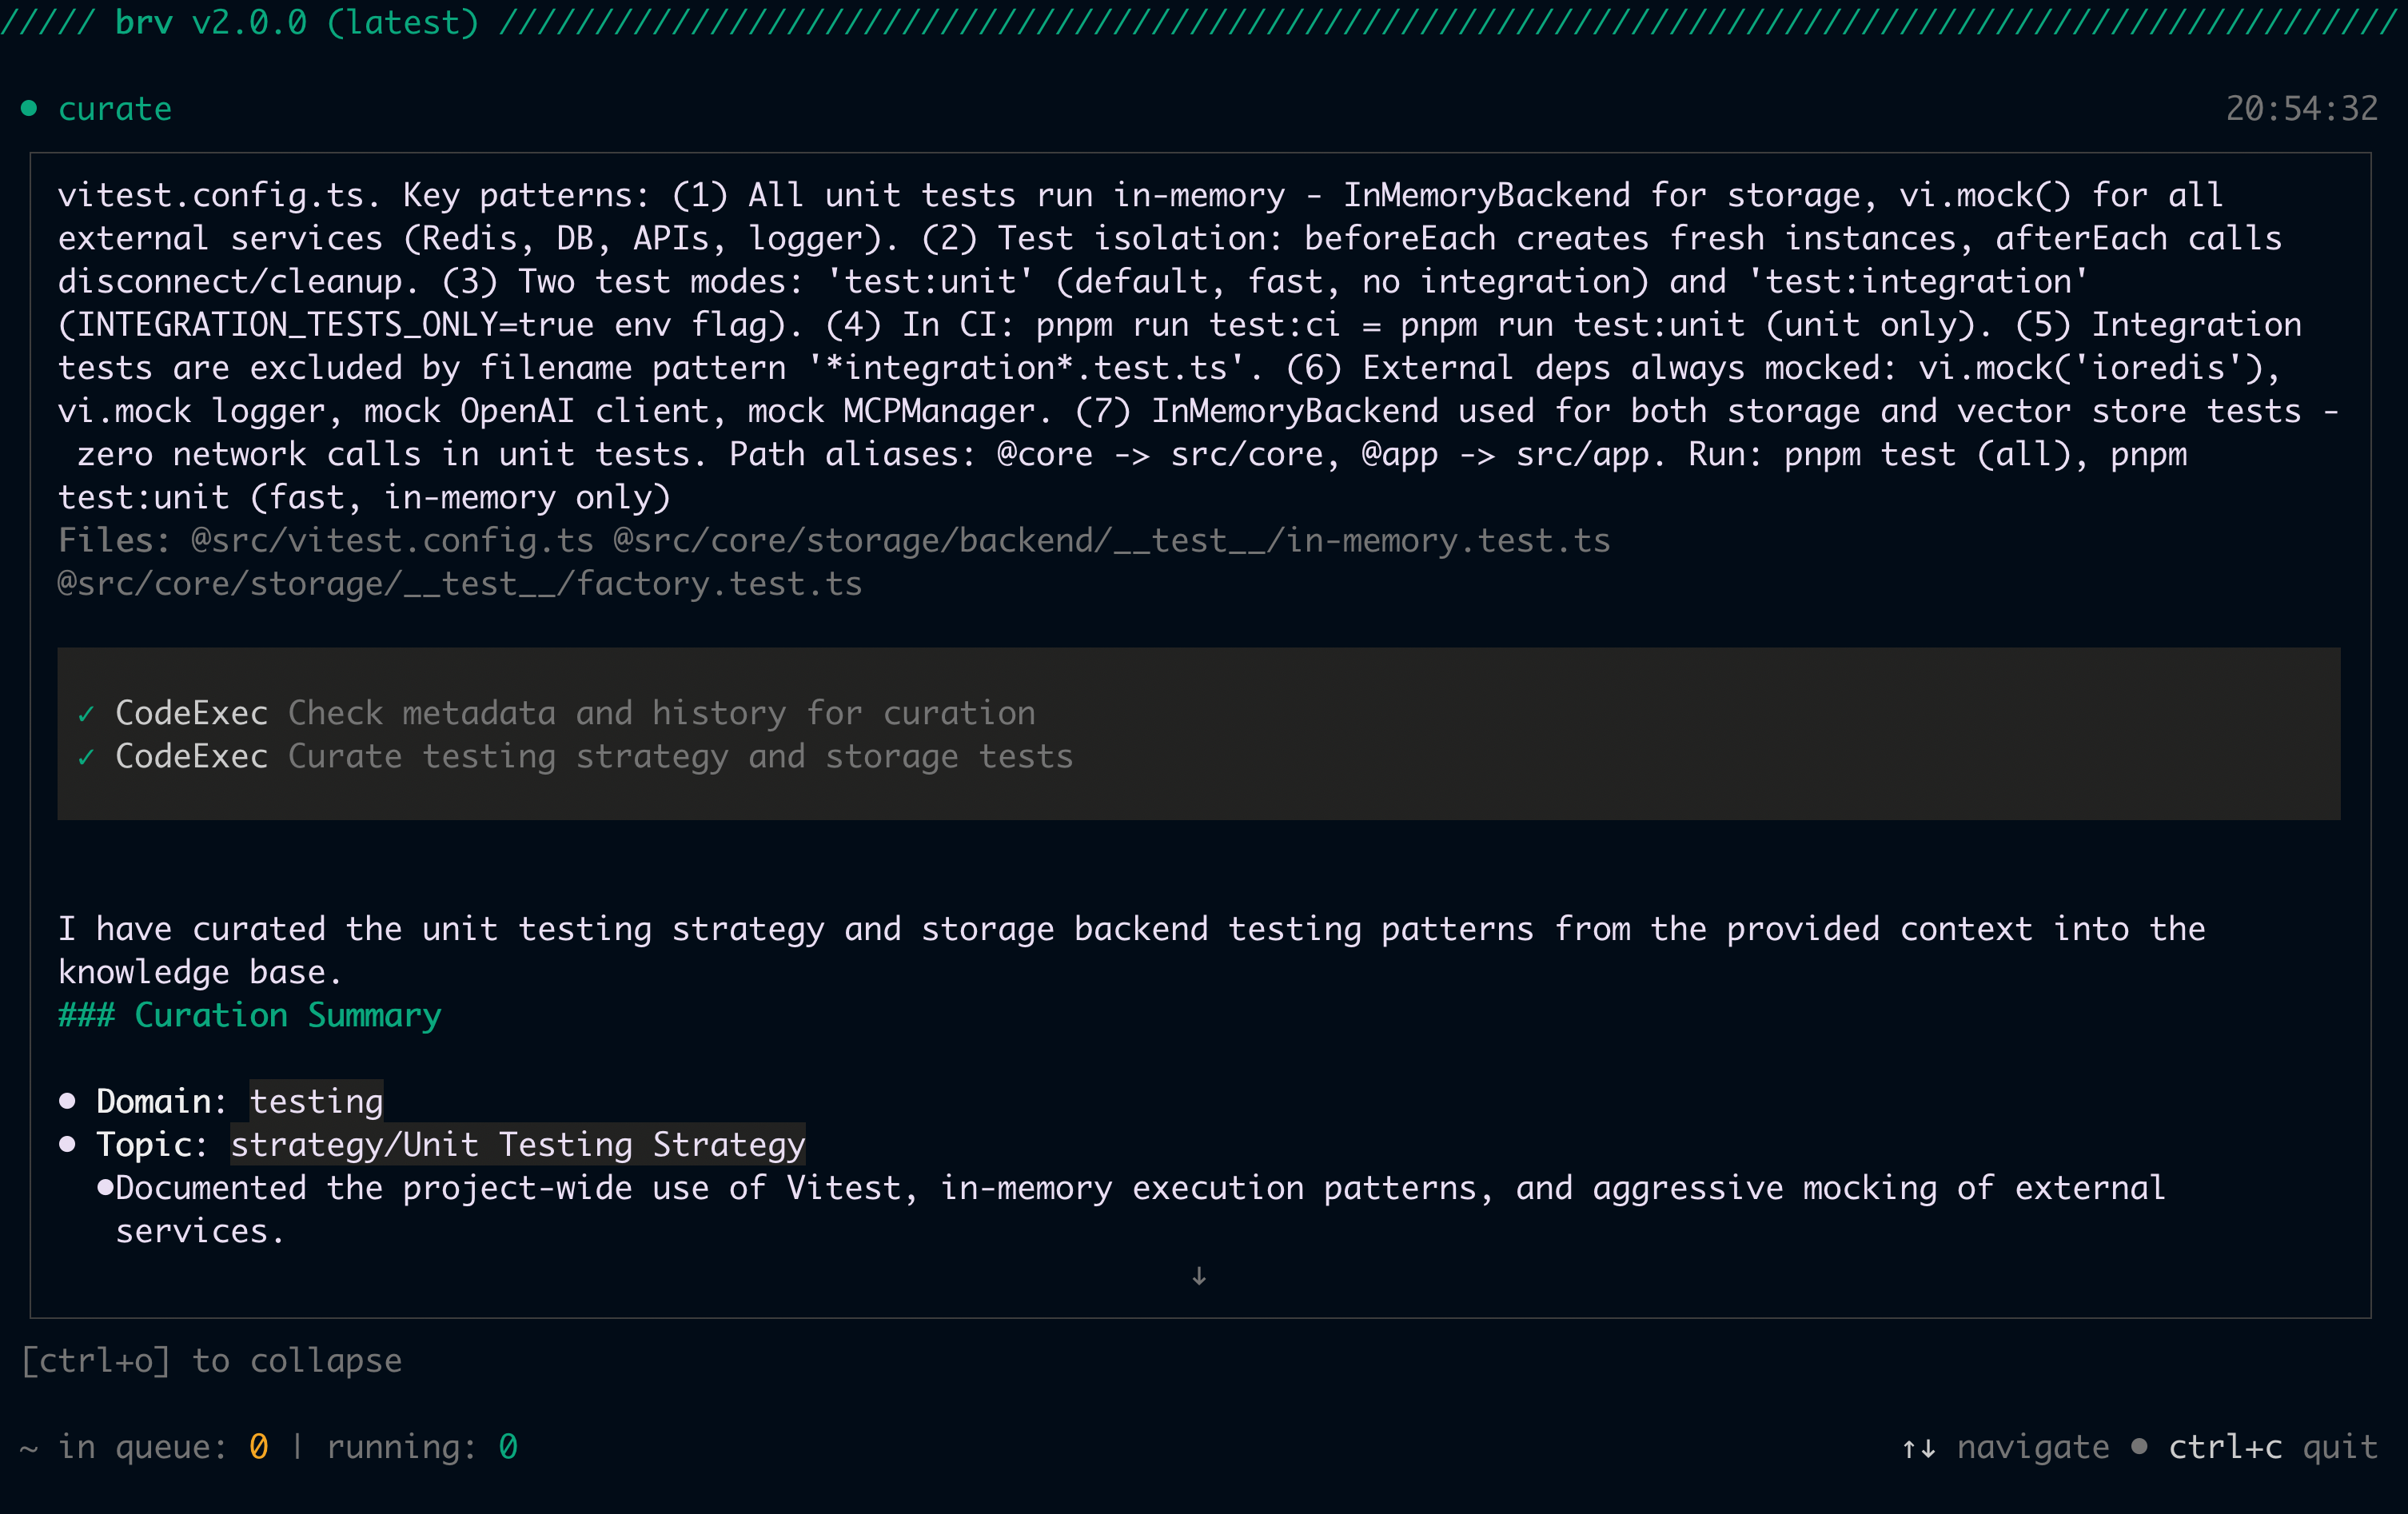
Manual
- TUI
- CLI
Type
/curate followed by your context description. Be specific — the more precise your input, the more useful the stored context:Context tree
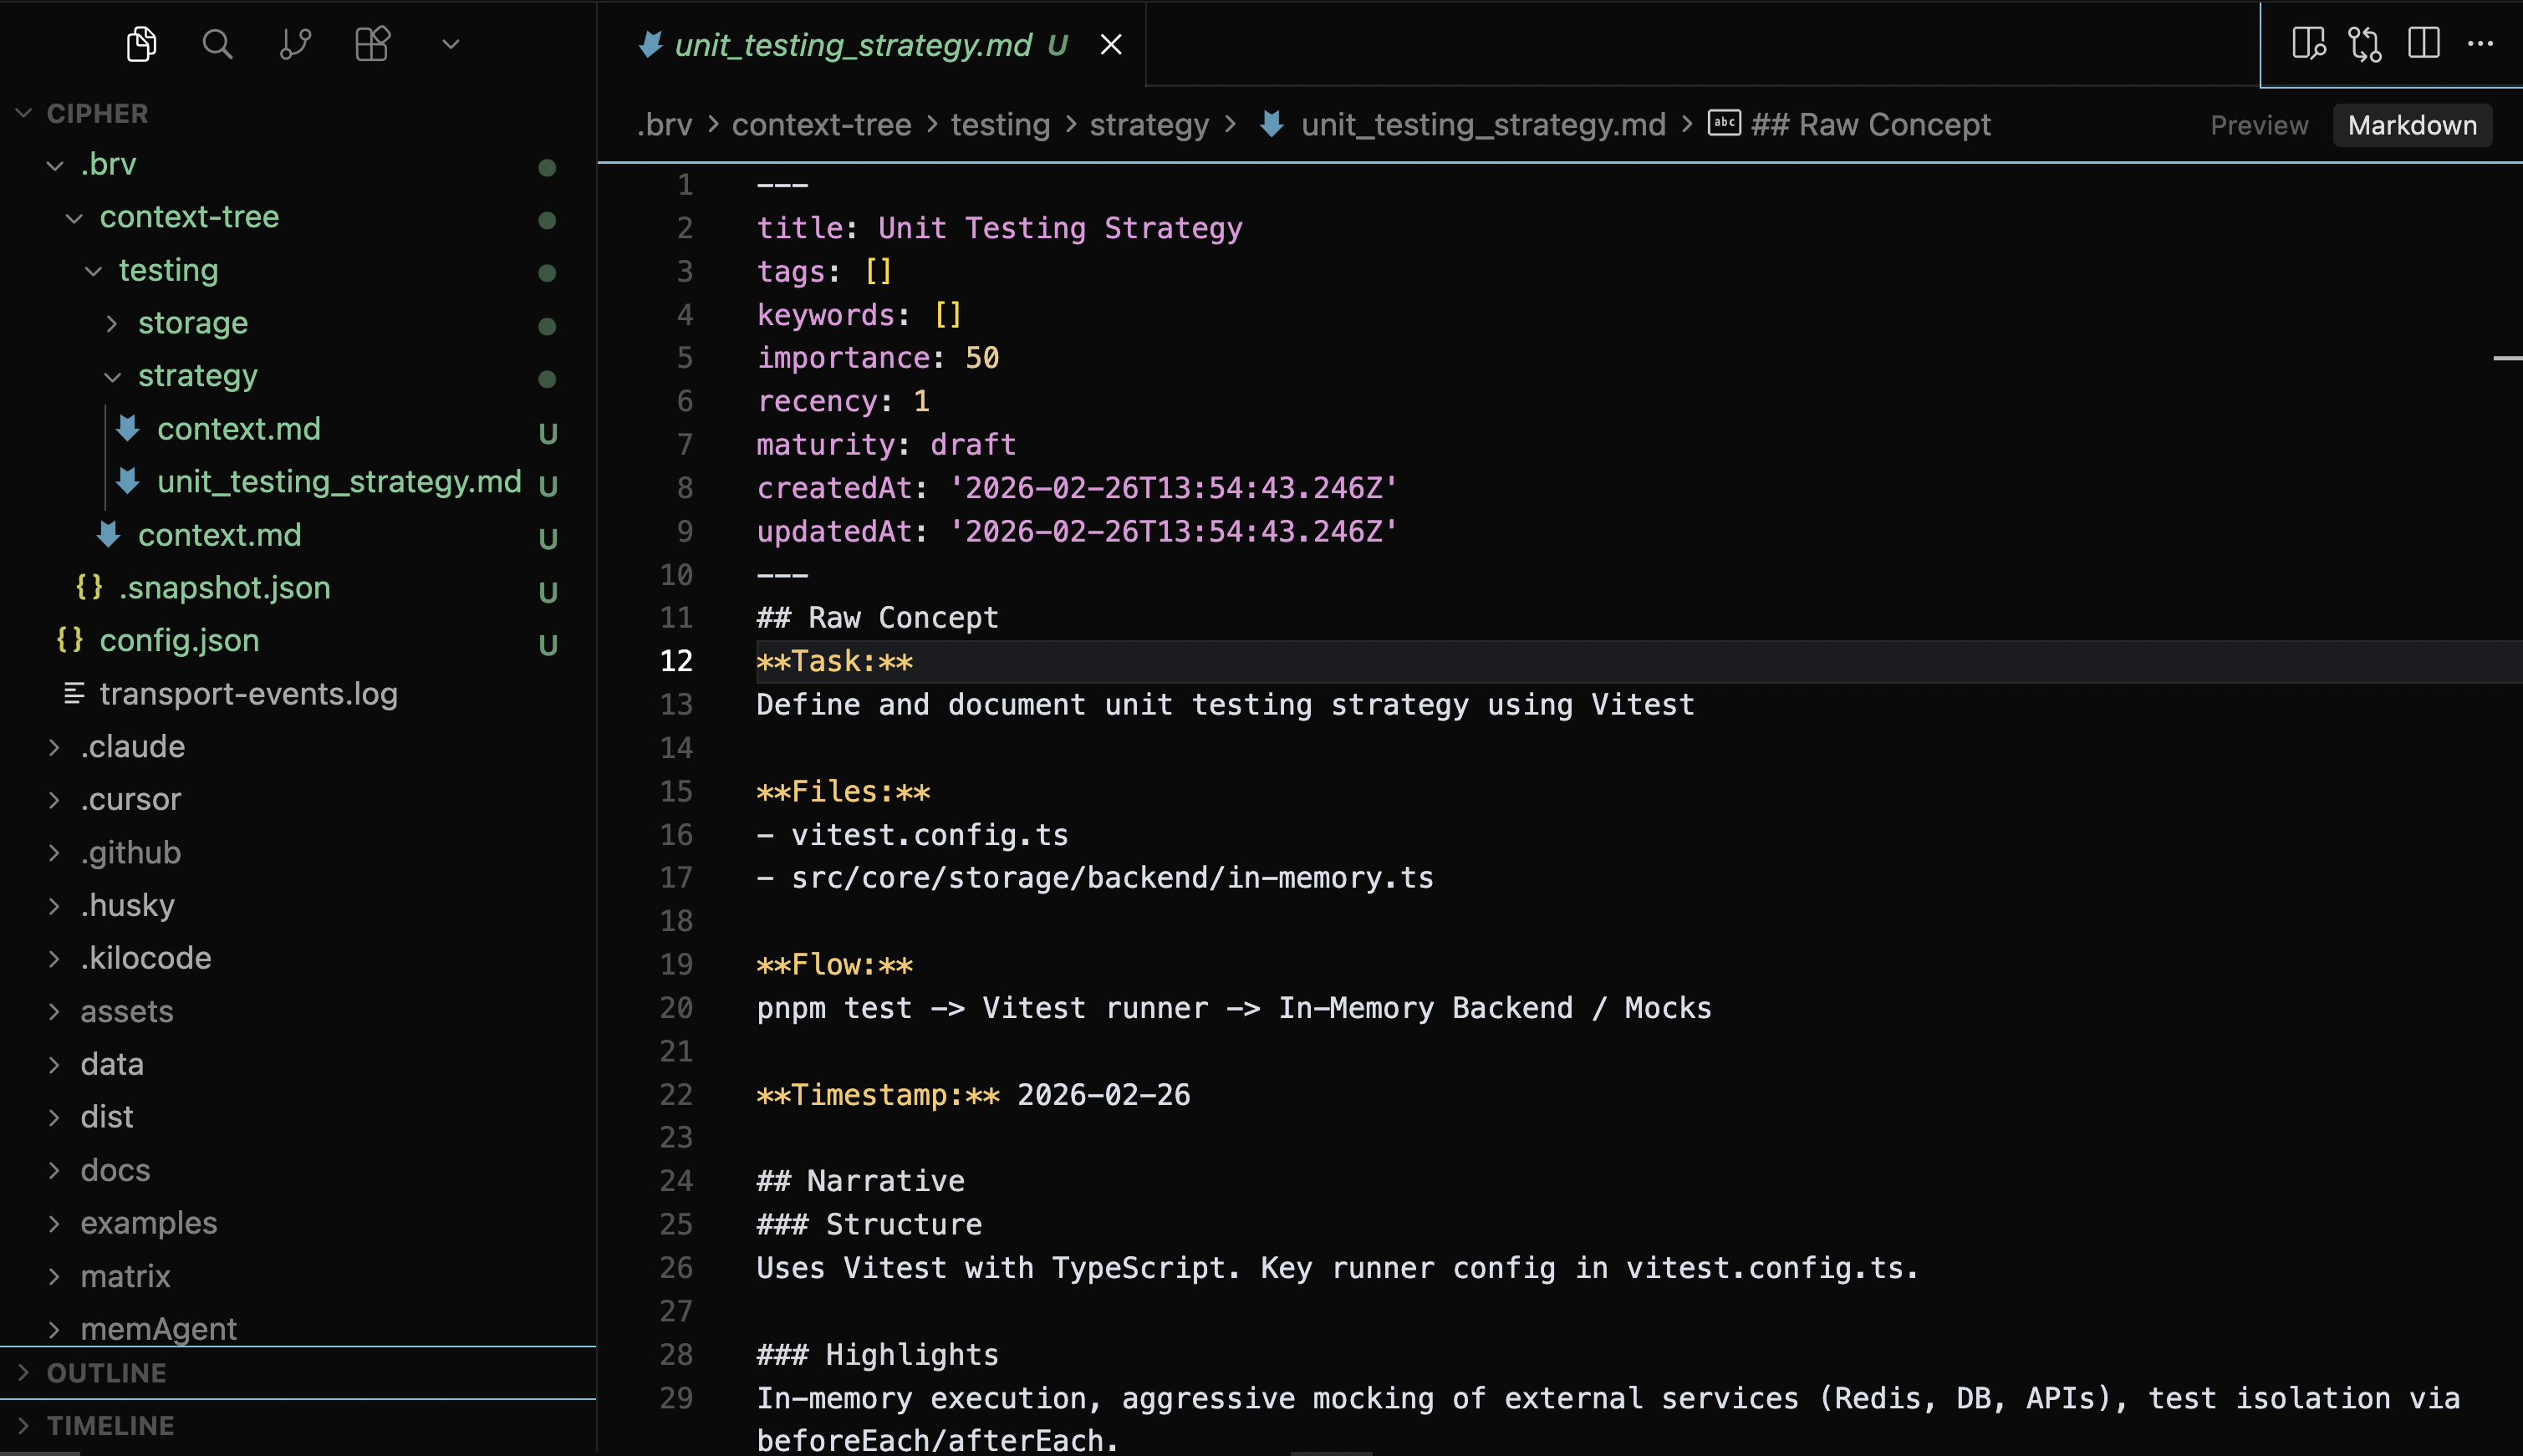
ByteRover organizes curated context into structured domains (e.g.,testing, architecture, database) inside a local context tree at .brv/context-tree:
Step 5: Query context
Via your coding agent
Manual
- TUI
- CLI
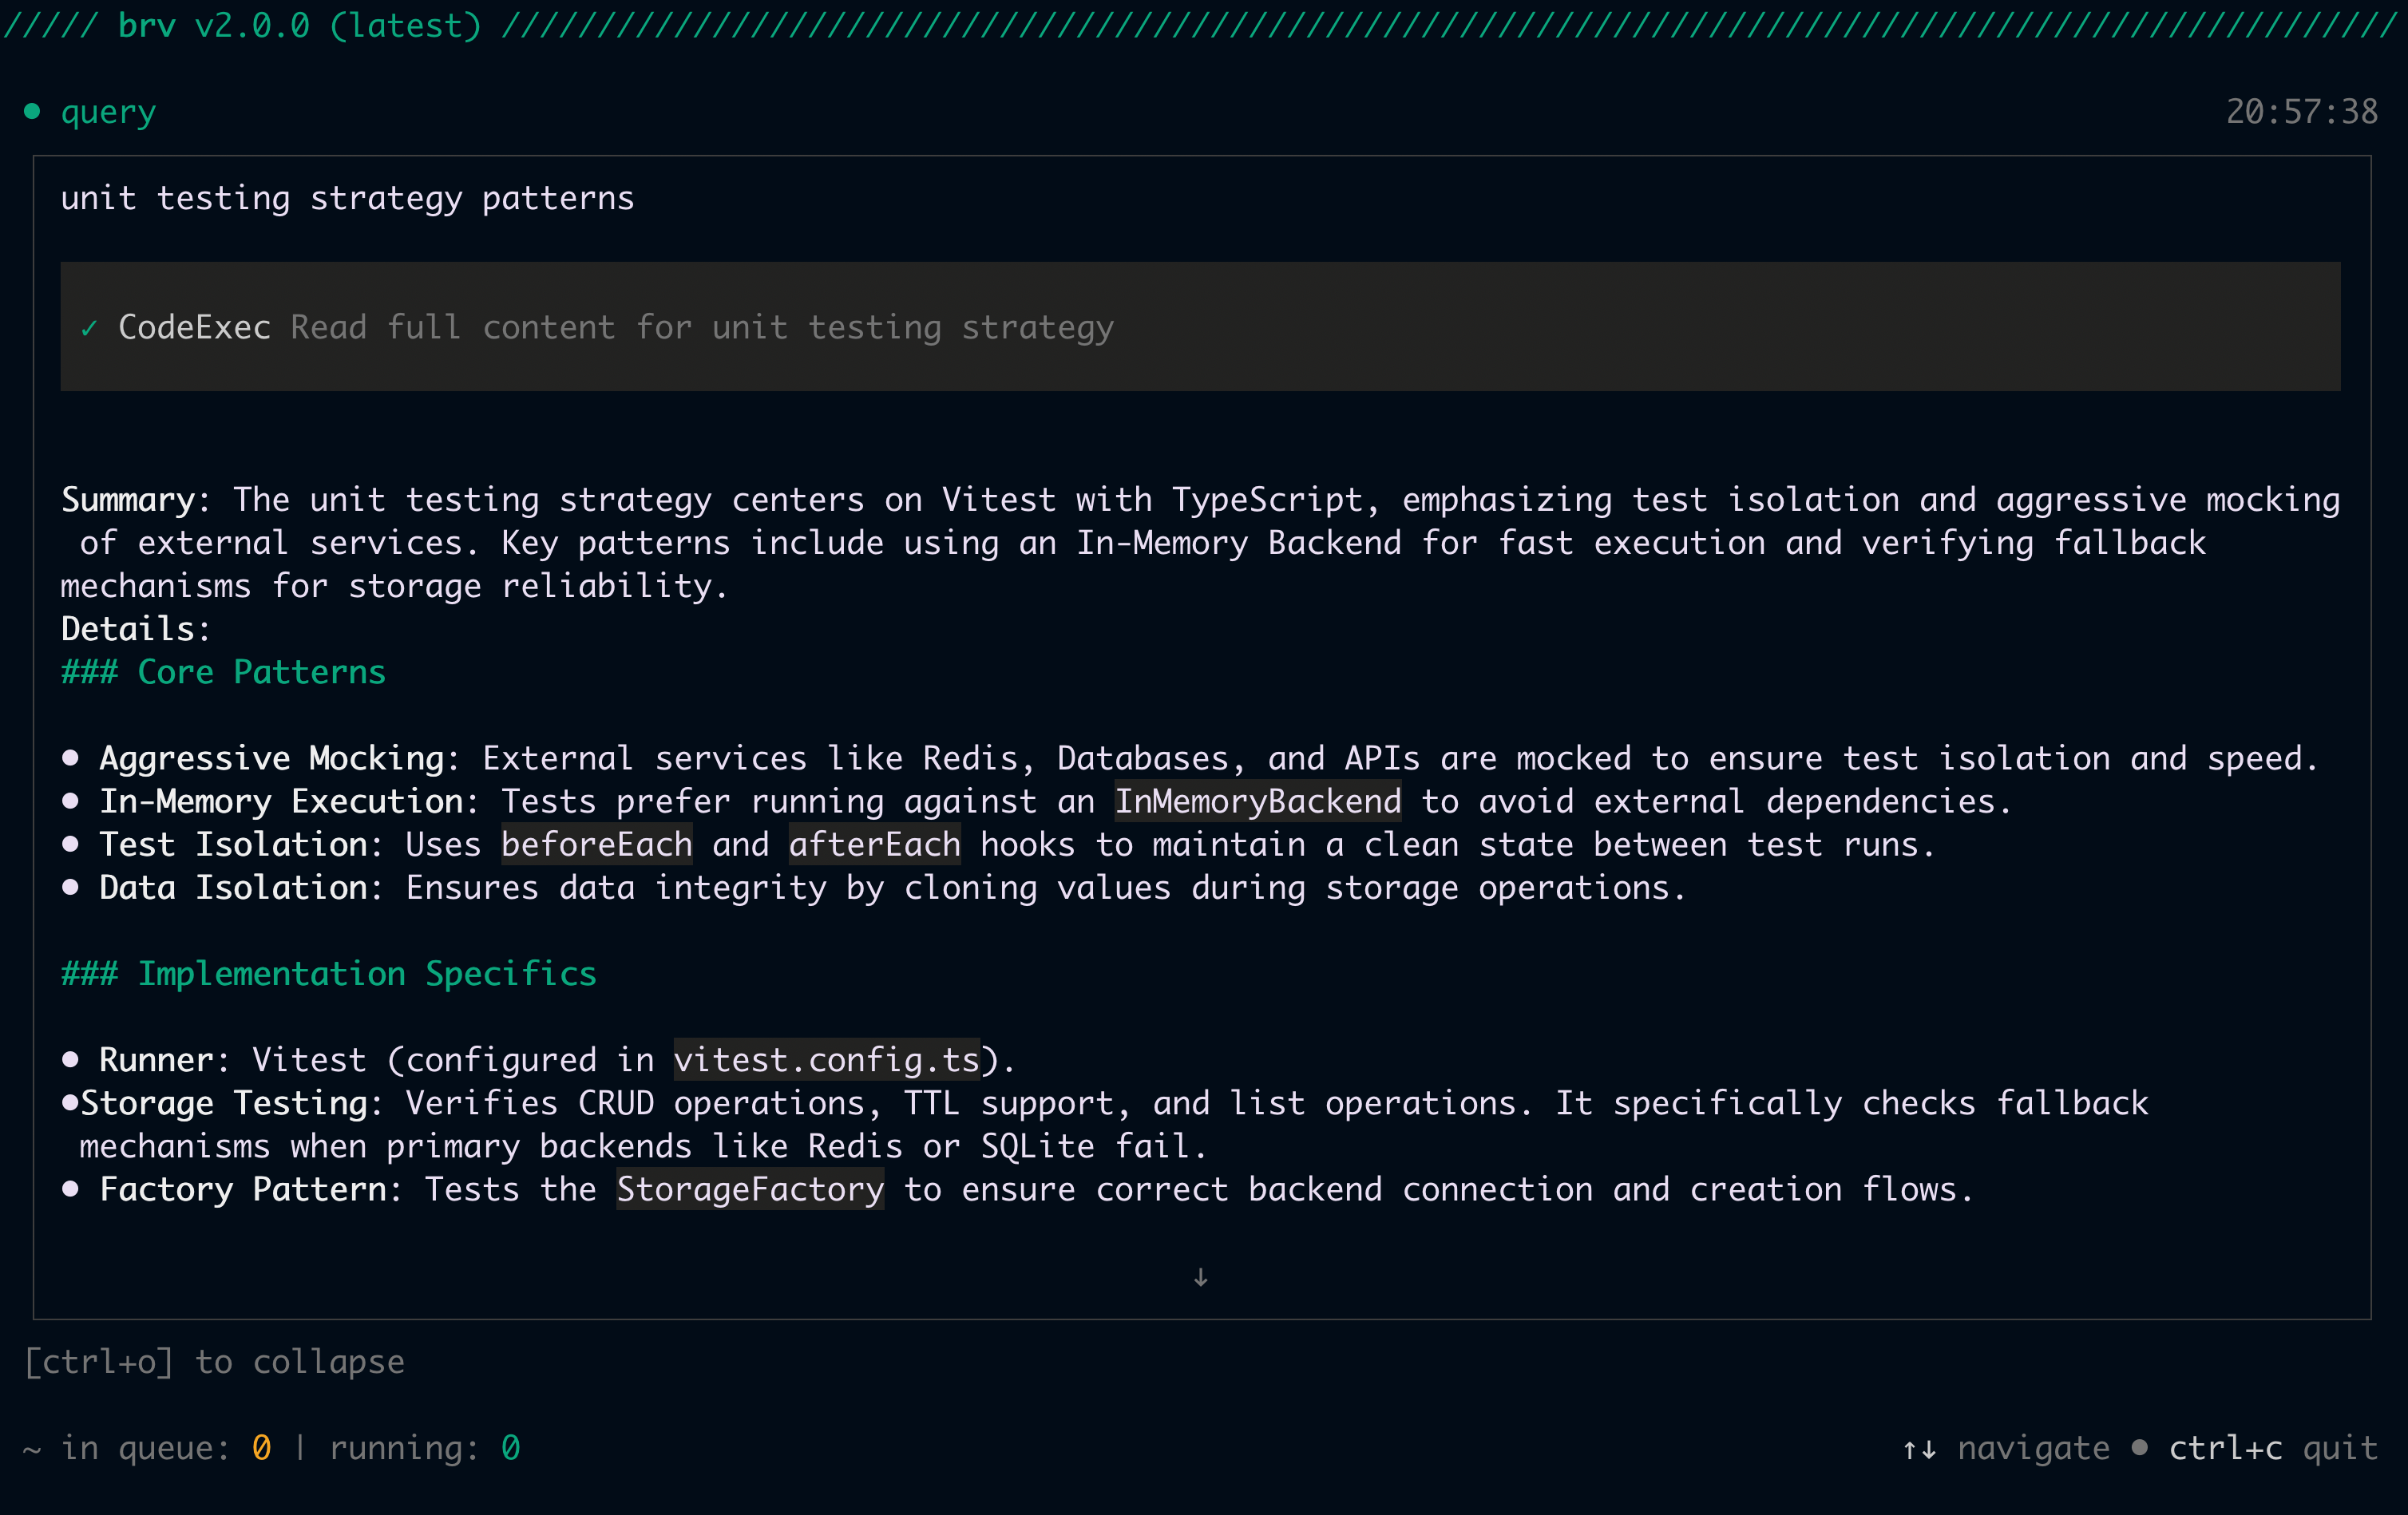
Type
/query followed by your question directly in the ByteRover TUI:You’re all set. ByteRover is now capturing and retrieving context for your coding agents.
Optional: Version control and cloud sync
The steps below are optional. They let you track changes to your context tree with Git-Semantic version control, and optionally sync to the cloud for team collaboration.Initialize version control
- CLI
- TUI
Stage and commit your changes
After curating context, save a snapshot with version control:- CLI
- TUI
- CLI
- TUI
Push to cloud
Sync your context tree to ByteRover cloud for team collaboration and backup:Get your API key from app.byterover.dev/settings/keys. Find your clone URL on the space’s page in the ByteRover Dashboard.
Clone a remote space
To join an existing team project, clone it instead of initializing from scratch:- TUI
- CLI
vc init.
Next steps
Team Context Sync
Push, pull, and collaborate with teammates using Git-Semantic version control
Curate Context
Best practices for adding context effectively
Query Context
Master context retrieval techniques
Git-Semantic VC
Full guide to branching, merging, and remote sync